Top Methods to Clean Beautyblender and Sponges: Microwave, Baking Soda, and More
Are you tired of dealing with makeup sponges that seem perpetually dirty or struggle to maintain your Beautyblender in top condition? Keeping these essential beauty tools clean is crucial for flawless makeup application and skin health.

Say goodbye to bacteria buildup and hello to pristine, long-lasting beauty tools with these simple yet powerful cleaning tips.
READ MORE: how to clean your hairbrush
Why Cleaning is Important
Regular cleaning of your Beautyblender and sponges is crucial for several reasons:
- Hygiene: Dirty sponges harbor bacteria that can cause breakouts and skin infections.
- Performance: Clean sponges provide smoother makeup application.
- Durability: Proper maintenance extends the life of your beauty tools.
How Often to Clean
Experts recommend cleaning your Beautyblender and sponges after every use to prevent product buildup and bacteria growth. For those who use these tools less frequently, cleaning them at least once a week is a good practice.
Methods to Clean Your Beautyblender
1. Microwave Method
Using a microwave is an effective way to deep clean your Beautyblender and sponges. Here’s how to do it:
- Materials Needed: Microwave-safe cup, water, dish soap or a gentle cleanser.
- Steps:
- Fill the cup with water and add a few drops of dish soap or a gentle cleanser.
- Submerge the sponge in the soapy water.
- Microwave the cup for about 1 minute.
- Let it cool before removing the sponge.
- Squeeze out the excess water and rinse thoroughly.
Considerations/Precautions: Ensure the sponge is fully submerged in water to prevent it from catching fire. Always handle the hot cup with care to avoid burns.
2. Cleaning Without Microwave
For those who prefer not to use a microwave, here’s a simple method:
- Materials Needed: Warm water, gentle soap or baby shampoo.
- Steps:
- Dampen the sponge with warm water.
- Apply a small amount of gentle soap or baby shampoo directly onto the sponge.
- Massage the soap into the sponge, working it into a lather.
- Rinse thoroughly under running water until the water runs clear.
- Squeeze out excess water and let it air dry.
Considerations/Precautions: Avoid using harsh detergents as they can damage the sponge material.
3. Using Baking Soda
Baking soda is a natural cleaning agent that can effectively clean your sponges:
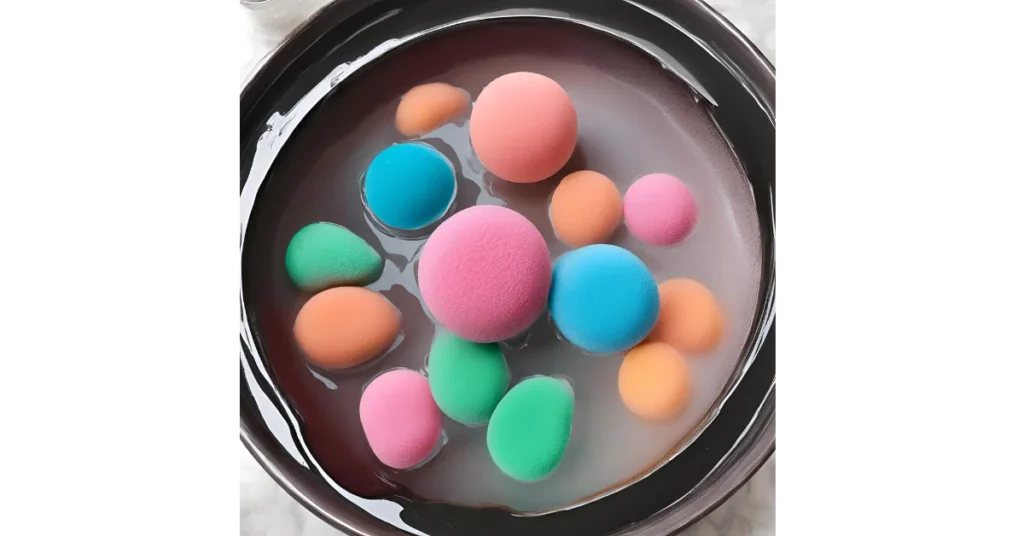
- Materials Needed: Baking soda, warm water, gentle soap.
- Steps:
- Create a cleaning solution with warm water and a tablespoon of baking soda.
- Submerge the sponge in the solution and let it soak for 30 minutes.
- Wash the sponge with gentle soap, massaging and rinsing thoroughly.
- Squeeze out excess water and let it air dry.
Considerations/Precautions: Baking soda can be abrasive, so use it sparingly to avoid wearing out the sponge.
4. Washing Machine Method
You can also clean your sponges using a washing machine:
- Materials Needed: Laundry bag, gentle laundry detergent.
- Steps:
- Place the sponges in a laundry bag to protect them.
- Use a gentle cycle with cold water and add a small amount of gentle detergent.
- After the cycle, remove the sponges and let them air dry.
Considerations/Precautions: Avoid using fabric softeners as they can leave a residue on the sponges.
5. Dishwasher Method
Although less common, you can use a dishwasher to clean sponges:
- Materials Needed: Dishwasher, gentle dishwashing detergent.
- Steps:
- Place the sponges on the top rack of the dishwasher.
- Run a regular cycle with gentle detergent.
- Remove and let the sponges air dry.
Considerations/Precautions: Ensure the sponges are securely placed to prevent them from falling and getting damaged.
6. Cleaning with Oil
Using oil, such as olive or coconut oil, helps break down makeup residue:
- Materials Needed: Oil, gentle soap, warm water.
- Steps:
- Apply a small amount of oil to the sponge.
- Massage the oil into the sponge to break down the makeup.
- Rinse with warm water and wash with gentle soap.
- Rinse thoroughly and squeeze out excess water.
Considerations/Precautions: Make sure to remove all oil residue to prevent clogging pores.
When to Replace Your Beautyblender
Even with regular cleaning, beauty sponges should be replaced every 3-6 months. Signs that it’s time to replace your sponge include:
- Persistent stains that won’t wash out.
- Tears or cracks in the sponge material.
- A change in the sponge’s texture.
Considerations
- Always allow your sponges to dry completely before storing to prevent mold growth.
- Use gentle products to avoid damaging the sponge.
- Regularly inspect your sponges for signs of wear and replace them as needed.
Give Away
By following these detailed cleaning methods, you can keep your Beautyblender and sponges in top condition, ensuring your makeup application remains flawless and your skin stays healthy.


