Use an Eyelash Curler Without Pinching or Breaking Lashes
Eyelash curlers can transform your lashes, making them look longer, fuller, and more lifted. However, if you’re new to this beauty tool, you might find it intimidating to keep your lashes curled all the day.
Step-by-Step Guide
1. Choosing the Right Eyelash Curler
Before you start, select a high-quality eyelash curler. Look for one that fits the shape of your eye and has a comfortable grip. Heated eyelash curlers are also available and can provide longer-lasting curls.
2. Preparation: Clean and Dry Lashes
Before you start, select a high-quality eyelash curler. Look for one that fits the shape of your eye and has a comfortable grip.
3. Positioning the Curler
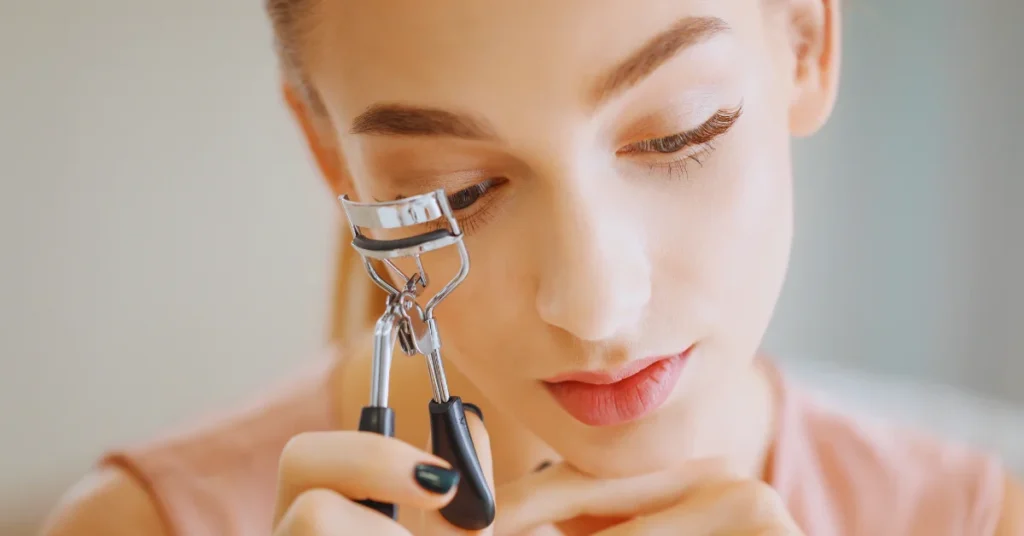
Open the eyelash curler and bring it up to your eye. Look straight into a mirror, and carefully position your lashes between the curler’s clamps. Make sure to get as close to the base of your lashes as possible without pinching your eyelid.
4. Curling Technique
Gently close the curler, applying a firm but gentle pressure. Hold for about 10-15 seconds. For a more natural curl, start at the base and then move the curler up your lashes in small increments, giving a light squeeze at each point.
5. Curling Short Lashes
If you have short lashes, use a mini eyelash curler designed specifically for shorter lashes. This can help you reach all lashes without missing any. Alternatively, a heated eyelash curler might provide better results for short lashes.
6. Before or After Mascara?
It’s generally recommended to curl your lashes before applying mascara. Curling after mascara can cause lashes to stick to the curler and potentially break. However, if you prefer to curl after applying mascara, use a heated eyelash curler to avoid this issue.
7. Avoiding Pinching
To curl without pinching, make sure you’re looking straight ahead and not pulling your eyelid. Position the curler carefully, ensuring the skin of your eyelid isn’t caught in the clamps. Practice makes perfect, so take your time to get comfortable with the process.
8. Using a Heated Eyelash Curler
Heated eyelash curlers are a great option for beginners and those looking for a more pronounced curl. To use, simply turn on the curler and let it heat up according to the manufacturer’s instructions. Comb through your lashes as you would with a traditional curler, but with added heat for a longer-lasting curl.
9. Finishing Touches
Before you start, select a high-quality eyelash curler. Look for one that fits the shape of your eye and has a comfortable grip. Heated eyelash curlers are also available and can provide longer-lasting curls.
Precautions and Tips
Give Away
Using an eyelash curler can significantly enhance the appearance of your lashes, giving you a more wide-eyed and polished look. Whether you’re a beginner or have short lashes, following these steps and tips will help you achieve beautiful, curled lashes without pinching or damage.

