Spray Away: How to Use a Paint Sprayer For Stunning Results
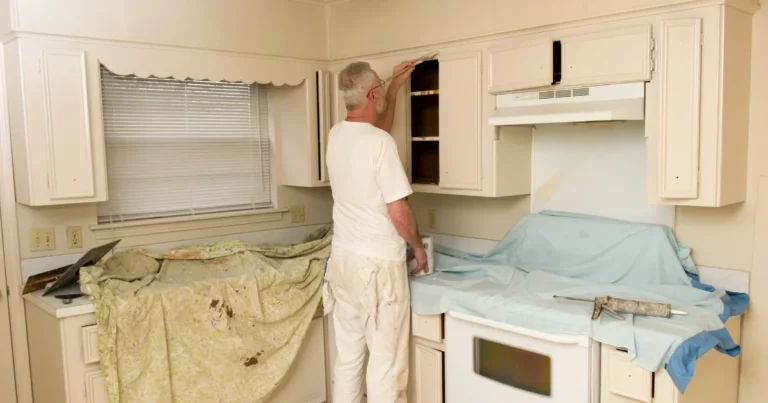
Sprayer paint offers a fast and efficient way to tackle painting projects of all sizes, from small DIY tasks to large-scale renovations or to paint the kitchen cabinets. Whether you’re a novice or experienced painter, understanding how to use sprayer paint effectively can save you time and effort while delivering professional-looking results.
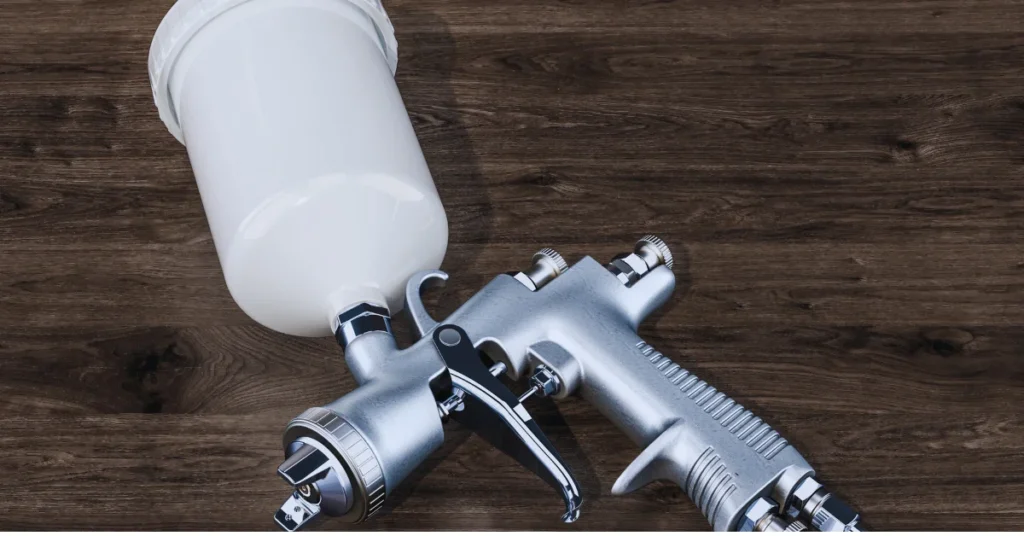
Unlike traditional brushes and rollers, sprayer paint offers efficiency, speed, and a flawless finish when used correctly. In fact, depending on the sprayer and paint type, you can achieve coverage rates of up to 10-12 square feet per minute, allowing you to complete projects in a fraction of the time it would take with conventional methods.
Types of Sprayer Paint:
Before delving into the types of sprayer paint, it’s essential to understand the unique characteristics and applications of each type. Different sprayer systems offer distinct advantages depending on the project requirements and desired results. Let’s explore the various types of sprayer paint systems and their capabilities.
- Airless Paint Sprayers: These sprayers use a high-pressure pump to atomize paint without the need for compressed air. They are ideal for large surface areas and can handle thicker paints with ease. They achieve high flow rates, ranging from 0.25 to over 1 gallon per minute.
- HVLP Sprayers: HVLP sprayers use high volumes of air at low pressure to produce a fine, controlled spray, minimizing overspray and waste. They’re ideal for detailed work with thin paints and typically consume less paint than airless systems. With transfer efficiencies of 65% to 85%, more paint reaches the surface rather than being lost to the air.
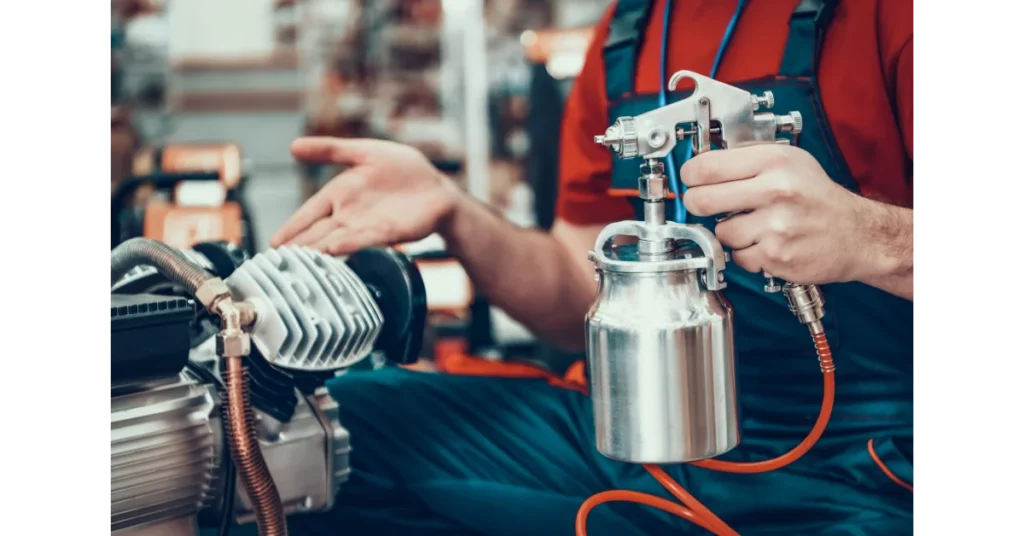
- Compressed Air Sprayers: Compressed air sprayers use air to atomize paint, handling various types and viscosities. They come in different configurations like siphon, gravity, and pressure feed, each for specific applications. While they produce more overspray than HVLP systems, they’re popular for their simplicity and affordability among DIYers.
Instructions:
Below are step by step guide on using a sprayer paint so that you get the flawless finish after using it.
Required Materials:
- paint
- sprayer gun
- paint reservoir
- nozzles
- compressors (for compressed air sprayer)
- drop cloth
- fillers for cracks/ imperfection
- painters tape
- safety gloves
- goggles
- respirator/ mask
STEP 1: Preparing the Surface
Proper surface preparation is crucial for achieving a smooth and durable finish with sprayer paint. Follow these steps before painting:
- Clean the surface thoroughly to remove dirt, dust, and grease.
- Repair any cracks, holes, or imperfections with appropriate fillers or patching compounds.
- Sand the surface to create a smooth and even texture, ensuring better paint adhesion.
- Mask off any areas you don’t want to paint using painter’s tape and drop cloths to protect surrounding surfaces from overspray.
STEP 2: Choosing the Right Paint
Not all paints are suitable for sprayer application. Opt for paint specifically formulated for use with sprayers, often labeled as “spray paint” or “airless paint.” These paints have a thinner consistency and are designed to atomize more easily, resulting in a smooth finish.
Additionally, consider factors such as the type of surface you’re painting (wood, metal, plastic, etc.) and the desired finish (matte, satin, glossy) when selecting your paint.
STEP 3: Test Spray
Before starting your project, perform a test spray on a scrap piece of material to ensure the sprayer is adjusted correctly.
Adjust the settings as needed to achieve the desired spray pattern and coverage.
STEP 4: Applying the Paint
Once you’ve prepared the surface and adjusted your sprayer settings, it’s time to start painting. Follow these tips for a successful application:
- Hold the spray gun perpendicular to the surface at a consistent distance (usually 6-12 inches) for even coverage.
- Keep the spray gun moving in smooth, overlapping strokes to avoid buildup and ensure uniform coverage.
- Start and stop spraying slightly beyond the edges of the surface to prevent uneven coverage and drips.
- Apply multiple thin coats rather than one thick coat to achieve a smooth and professional-looking finish.
- Allow each coat to dry completely before applying the next coat, following the manufacturer’s recommended drying times.
STEP 5: Cleaning Up
Proper maintenance of your sprayer paint equipment is essential to prolong its lifespan and ensure optimal performance. After completing your painting project, follow these steps to clean your sprayer:
right tip selection
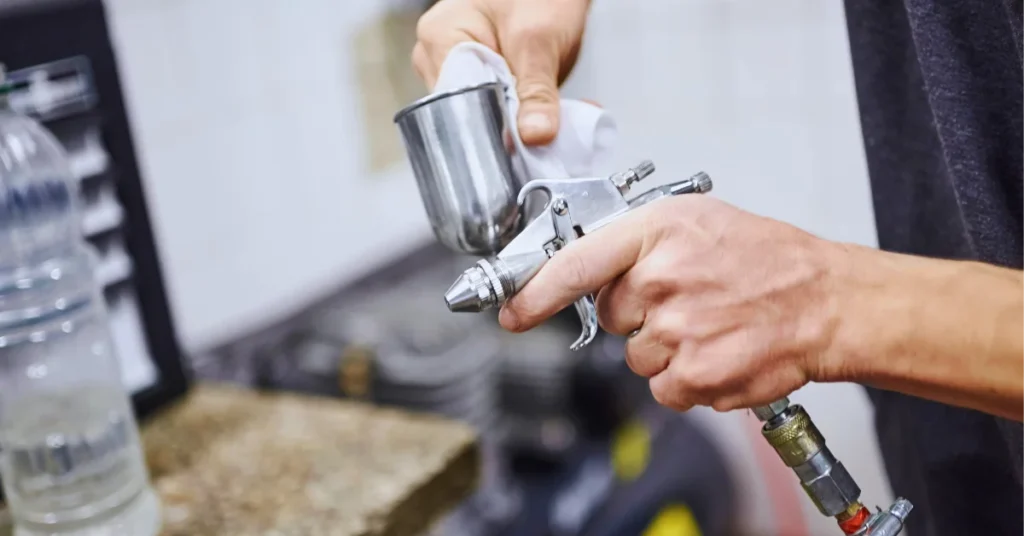
Selecting the right tip for your sprayer is crucial for achieving optimal results in your painting project. Consider the desired spray pattern and coverage, as well as the viscosity of the paint you’re using.
For example, a smaller tip size (such as 0.015 inches) is ideal for fine finishes and detail work, while a larger tip (such as 0.021 inches) is better suited for broader coverage on large surfaces.
Additionally, pay attention to the fan width, with options ranging from 6 inches for precise work to 12 inches for broader coverage. Ultimately, choosing the correct tip ensures efficient paint application and a professional-quality finish.
OUTLOOK:
By understanding the equipment, preparing the surface, choosing the right paint, adjusting sprayer settings, applying the paint correctly, and maintaining your equipment, you can achieve professional-quality results on your painting projects. With practice and patience, sprayer paint can become your go-to tool for transforming surfaces with ease and efficiency.

